The Top Project Plan Templates

By Kate Eby | June 8, 2018 (updated April 3, 2024)

A project plan is an essential part of any project manager’s toolkit. While it can be tempting to get started on completing tasks as soon as possible, taking the time to map out your strategy can help you save money and resources. Your project will constantly be shifting, and you need a project plan template that can keep up. 

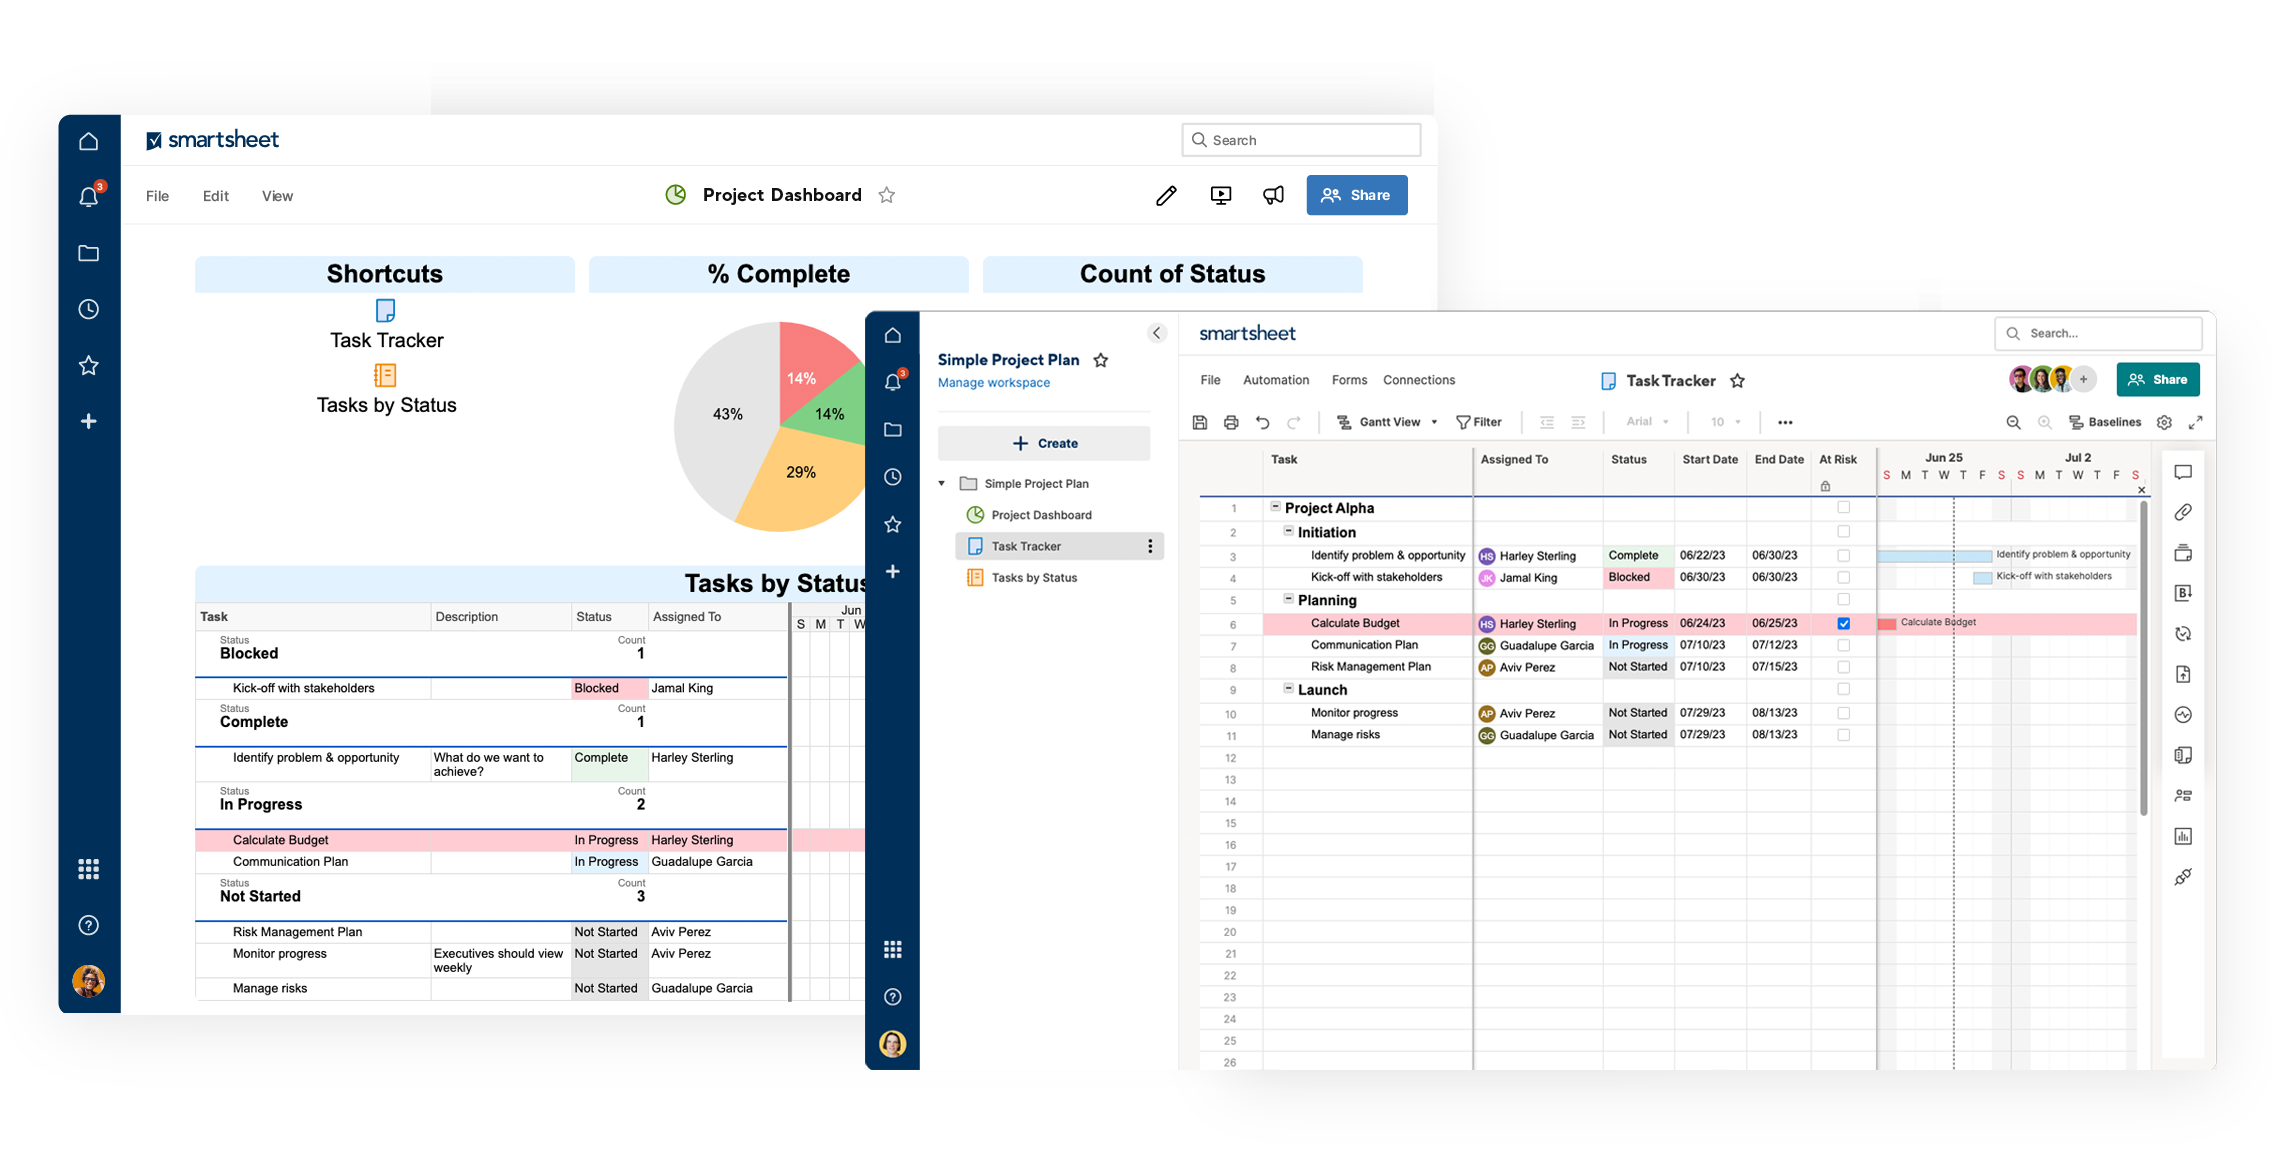
But, with so many available templates, how do you know which one to use? We’ve sorted through them all and found the best project plan templates in Excel and Microsoft Word. We’ll explain the different types of templates and when you should use each one. We’ll also provide a selection of free downloads of project plan templates in Microsoft Word and Excel. You’ll learn what a project plan is and how to make one from scratch in Excel. Or you can try a pre-built template in Smartsheet, a project management platform that empowers you to efficiently manage projects with real-time collaboration and process automation.

Project Plan Templates

A project plan template can be as simple or as complex as you need, depending on your style of project management and the requirements of your project planning. You can choose to include a static timeline or a dynamic Gantt chart, and focus on action items or business goals.

A project plan is most often used in a project management context, with Gantt charts to plan and report progress as the project changes. The main difference between a project plan and a work plan is the Gantt chart, making it a more integrated project plan complete with a way to track tasks against timelines. A Gantt chart is a dynamic, horizontal bar chart to visualize a project schedule and is an important asset to share with stakeholders to communicate project status. This type of template caters toward project managers who are managing larger projects with many people.

project plan template excel

  Download Excel Template  Try Free Smartsheet Template  


Project plan templates, complete with a Gantt chart, are used most often in instance like construction project management, or where there’s a need for a more agile project plan. Sometimes, people prefer to use project management software to create more complex project plans, enabling them to easily update and manage their plans with greater flexibility.

Simple Project Plan Template

Track project details, manage timelines, and visualize how your project is progressing with this simple project plan template. Document all key details, like task start and end dates, resources needed, and budget details, with this comprehensive, easy-to-use template.

  Download Word Template  Try Free Smartsheet Template  


Work Plan Templates

A work plan template is designed to break down your large project goals into smaller, actionable steps. This kind of template outlines what needs to be done, by whom, and when. It also includes a timeline to help set expectations and improve transparency, keeping everyone on the same page about deliverables and deadlines. A work plan template is best for larger teams working on big projects with many tasks and due dates.

work plan template excel

  Download Excel Template  Try Free Smartsheet Template  


Project Implementation Plan Template

Ensure you don’t miss or overlook any key steps and that all your bases are covered as you move through your project. Use this professionally designed template to keep key internal and external stakeholders, clients, and upper management in the loop on all phases of the project.

  Download Word Template


Action Plan Templates

An action plan lists all the steps that must be taken to achieve a specific goal. The template includes information about the actions that need to happen, the people that will complete them, due dates, priority, and status. While an action plan and work plan are similar, an action plan focuses on goals, whereas a work plan template focuses on phases of tasks that are usually listed in chronological order. An action plan template is best for individual use or by smaller teams.

action plan template excel

  Download Excel Template  Try Free Smartsheet Template  


Project Action Plan Template

Establish the main goals of your project, identify the actions needed to achieve those goals, and assign a person to be responsible for each task with this complete project action plan template. Assign priority to tasks, view status, and list start and end dates to keep your project moving forward.

  Download Word Template


Business Plan Templates

A business plan template highlights business goals and the plan for achieving them. It focuses on your business’ future and how you intend to reach your objectives. Business plans are much more strategic than a work plan or action plan and often include a vision statement, business profile, economic assessment, and more. A business plan is most appropriate for people who are starting their own business, growing their business, or seeking outside help.

business plan template excel

  Download Excel Template  Try Free Smartsheet Template  


Get started quickly with project plan templates in Smartsheet

Your projects may be complex, but your project management tool doesn’t have to be. Combine a rich set of features with flexibility, simplicity, and ease of use to deliver projects quickly. Try Smartsheet free for 30 days and get access to hundreds of pre-built, easily customizable templates to jumpstart your project. After your trial, you can choose the plan that best suits your needs or opt for the Free Plan as a no-cost alternative.

Try Smartsheet for Free


What is a project plan?

A project plan is designed to deliver the intended scope of a project, facilitate communication among stakeholders, and track planning assumptions and decisions. It is a living document that can include a stakeholder list, a scope statement, a project schedule, schedule and cost baselines, baseline management plans, communication plan, and it can change over the course of a project. It is worth noting that a project plan is not just a project timeline, although that is an important component of the plan.

You should always create a project plan before starting a new project. Start with what you want to achieve from the project and break it down into the things you need to do in order to accomplish the goal. Then, once you have a high-level plan of all the things that need to be done, you can think about timing, budget, resources, and more.

At the very least, a project plan should answer the following questions about a project:

  • Why? - Why are we starting this project? What is the problem that this project will address or solve?
  • What? - What are we working on? What are the major deliverables and goals?
  • Who? - Who will be involved in the project and what will be their responsibilities?
  • When? - When should the project start and end? What are the milestones?

What to include in a project plan

Project plans differ, but they all contain similar information. In your project plan, include an executive summary, project goals, milestones, deliverables, an estimated timeline, potential risks, and budget details. We’ve outlined some common topics covered by a project plan below:

To learn how to create your own project plan, check out our comprehensive guide to project planning.

  • Executive Summary: The executive summary should summarize the information contained within your project plan onto a single page for easy reading.
  • Project Goals: Outline the end goals of your project and how you will measure its success.
  • Target Audience: Identify the target audience of your project, or who it will affect and who will use the results.
  • Key Responsibilities: Outline the roles and responsibilities of each team member.
  • Key Tasks and Deliverables: Highlight the most important tasks and deliverables throughout the project, with estimated deadlines.
  • Available or Needed Resources: List the resources you will need to secure to complete the project.
  • Risk Analysis and Mitigation Plan: Identify possible risks and put a plan in place to manage them before they become problems.
  • Key Milestones: Identify the key milestones you will use to measure progress.
  • Proposed Project Timeline: Create an estimated timeline for tasks, milestones, and deliverables.
  • Costs and Budget Details: Create an estimated timeline for tasks, milestones, and deliverables.
  • Contingency Plans: Include any contingency plans for project elements that don’t pan out as planned.
  • Communication Strategies: Create a communication plan for reference throughout the project’s lifecycle.
  • Evaluation Strategy: Determine how you will evaluate the successes and failures of your project.

To learn more, check out our comprehensive Project Management Guide.

What is the purpose of a project plan?

A project plan is one of the most important ingredients for a successful project. It is used to document and communicate expectations, to control schedule and delivery, and to calculate and manage risks. In general, it acts as a roadmap for everyone involved in the project.

Here are the four biggest benefits of a project plan:

  • Improves communication: By outlining your whole plan for everyone to see, stakeholders can provide feedback early in the process if things are going in the right direction. A project plan also helps facilitate expectation management by letting you update milestones and timelines as the project progresses.
  • Increases transparency: With a project plan, stakeholders and team members know exactly where to look to get information every step of the way. Expectations and the project timeline are clearly defined, so everyone is on the same page about priorities and objectives.
  • Increases organization: Many projects have dozens of tasks, dependencies, and milestones, and it can be hard to track how everything is progressing. A project plan makes you think through the timing of each activity and how it affects the rest of the project. You always know how much time to spend on each task and how many things you can accomplish at the same time.

The project planning process

The project planning process involves thoroughly mapping out your project from start to finish. At this time, determine your goals, estimate a timeline for key deliverables, create a budget projection, and assess your risks before launching your project.

  1. Concept and Initiation: Start by determining the overall concept of your project and how you plan to complete it.
  2. Roadmap Creation: In this phase, determine a rough timeline of the tasks necessary to complete your project.
  3. Deliverable Listing: Each project must have specific deliverables, which you should identify during the beginning portion of your planning phase, so each team member is aware of what is expected of them.
  4. Project Milestone Identification: Figure out specific points in the project that you consider to be key milestones. These milestones can consist of certain tasks that you complete, a budget target that you reach, or a team that you assemble.
  5. Budget Creation: Creating a predetermined budget is one of the most important parts of a project plan. You should adhere to that budget as your project moves forward. This way, you can allocate specific resources and budgets to certain tasks, without exceeding spending projections.
  6. Team Member Identification: As with any project, you’ll need to assemble a team of people to implement the project. Work with others to target the specific people who will be most helpful in carrying out the project.
  7. Risk Assessment: You must identify all potential risks or threats to your project, including those that could cause budget issues, project delays, and more. List all those potential risks, and detail how you plan to mitigate the issues if they do occur.
  8. Project Communication: Once you’ve outlined the key components of your project, you need to communicate these plans and goals to the greater team — including key stakeholders and any external parties. Develop a way to appropriately and efficiently communicate the project plans to everyone involved.
  9. Project Launch: At this point, your project should be ready to launch. Ensure that you’ve covered all your bases and outlined all the details before starting. Then, you’re set to begin.
How to create a project plan in Excel

Here are some step-by-step instructions for making a project plan in Excel. You’ll first create the table with your project information, then we’ll show you how to make your project timeline.

1. Add Headers to the Table 

First, you’ll need to add some headers to your table.

  1. Leave the first row in your spreadsheet blank. On the second row, type in the headers. In this example, we’re using Tasks, Responsible, Start, End, Days, and Status. You could also add more headers for extra granularity, like Budget, Cost, and more. 
  2. Highlight the text and in the Alignment group, click the center icon to center the text in the headers.
  3. To format the headers for proper spacing, highlight all the text you just typed and on the Home tab, in the Cells group, click Format. Select Column Width and set the width for around 15-20 so you have enough space to enter in your project information.
Create Table Headers

2. Add Your Project Information

  1. Start with the Task column and enter the tasks for your project plan. You can enter as many or as few tasks as you want. To visually organize your project plan, we recommend adding a title for each group of tasks or each phase. In this example, we use Prerequisites, Initiation, Development, Operations and Launch.
  2. Then, enter the person responsible for each task and the start and end dates.
  3. To automatically calculate the number in the Days column, click on a cell in the Days column and type =, then click the End date cell, type the minus (-) symbol, then click the Start date cell. Click enter. Drag the bottom right-hand corner of this cell down the entire column and the rest of the values will be automatically calculated for you with this formula.
  4. Enter the status of each task. We use Complete, In progress, Overdue, or Not started.
  5. All the information should now be in your table, but you’ll notice the spacing is off depending on the length of your text. To fix this, highlight all your information and in the Cells group, click Format. Select Autofit Column Width to automatically adjust the column width to your content.
  6. To center your content, highlight the text and in the Alignment group, click the center icon.
Add Project Details to Chart

3. Add Colors to Convey Project Status at a Glance

It’s easy to customize your project plan with colors and visual hierarchy. By changing the styling and font sizes, you can highlight key information and convey project status at a glance.

  1. To change font color, click on the cell with the text you want to change. In the Home tab, select the color you want from the color drop-down list.
  2. To change the background color of one or more cells, select the cell(s) you want to change. Click the paint bucket icon and select the fill color.
  3. To format fonts, select one or more cells. In the Home tab, you can change the font type, font size, and make the title bold, italicized, or underlined. 

We recommend adding a background color to the main header and to each group or phase of tasks, as well as your target completion date or launch date. You can also change the font color of in the Status column to reflect current progress (in this example, red represents Overdue, green represents Complete, etc).

Add Chart Colors

4. Create the Project Plan Timeline

You’ve already added all your project information to the table, now it’s time to make the corresponding project timeline. Including a timeline in your project plan will help set expectations and increase transparency, keeping everyone aligned around priorities and due dates.

Add and Format Dates

  1. On the same row as your table headers, in the next available column, enter the two dates of your project timeline. Then, hold down Shift, select the two dates, and drag the bottom right-hand corner across the row until you’ve reached your end date.
  2. If you’d like to change the format of dates, select all the dates and right-click. Select Format Cells.
  3. In the pop-up box, select Date under the Category section and select the date type you’d like.
  4. You’ll notice that the cells are very wide. To make the timeline more compact, select all the dates, and select a smaller font size. In this example, we’ve selected font size 9.
  5. Then, select all the dates again and in the Cells group, click Format. Select Autofit Column Width to automatically adjust the column width to the dates.
Add Project Dates

Add Colors to Make the Project Timeline

  1. First, extend the same background colors and font formatting from your table to your timeline.
Add Colors to Timeline
  1. Now, you’ve created a type of matrix. You have a row that corresponds to each task, and on the right-hand side, on your timeline, you can simply fill in the cells that represent each task’s start and end date. To do this, select a cell (or more than one cell) and click the paint bucket icon. Select the color you’d like to use.
Create Task Bars

5. Final Touches

  1. To add grid lines to the project plan, select the entire project plan, both the table and the timeline, and in the Font group, click the borders icon. Select All Borders
     
  2. If you want to add more project information, select the first column, right-click and select Insert > Entire Row. Repeat until you have 8 empty rows.
  3. Then, in the first column, enter the following: Project Name, Project Manager, Project Deliverable, Start Date, End Date, and Overall Progress. Then, fill in the corresponding information.
Add Additional Project Info
Smartsheet

How to create a project plan in Smartsheet

Smartsheet’s pre-built project template with a Gantt chart makes it even easier to organize tasks, foster communication, and improve transparency. In this template, duration is automatically calculated for you and the interactive Gantt chart lets you drag-and-drop task bars to adjust dates. Smartsheet’s powerful collaboration features let you have discussions directly in the project plan, attach files, and set alerts and reminders.

Here’s how to use a project plan template in Smartsheet:

1. Select a Project Template

  1. Go to Smartsheet.com and login to your account (or start a free 30-day trial)
  2. From the Home tab, click Create and choose Browse All Solutions.
  3. Type “Project with Gantt Timeline” in the Search box or select Projects from the category list.
  4. Click on the Project with Gantt Timeline tile, then click the blue Use button.
  5. Name your template, choose where to save it, and click the Ok button.
Project Template with Gantt in Smartsheet

2. List Your Project Information

A pre-made template will open, with sample content filled in for reference and the sections, sub-tasks, and sub-sub-tasks already formatted. With Smartsheet, it’s easy to add or delete columns depending on the scope of your project.

Simply right-click on a column and select Insert Column Left/Insert Column Right to add a column or Delete Column to remove a column.

  1. Add your tasks under the Task Name column. You’ll notice that the hierarchy is already formatted for you. So, be sure to enter the project phase name or group name to the Section 1, Section 2, and Section 3 fields (this is called the parent row. For more information about hierarchy, click here)
  2. Enter your tasks and sub-tasks under the parent rows.
  3. On the left side of each row, you can attach files directly to a task (perfect for attaching stakeholder lists, budgets, and more) or start a discussion about a certain item.
Fill in Gantt Project Details Smartsheet

3. Add Start and End Dates

  1. Add start and end dates for each task. If you click and drag either end of the task bars in the Gantt chart, Smartsheet will automatically adjust the dates in your table.
  2. Click a cell in the either date column.
  3. Click the calendar icon and choose a date. You can also manually enter a date in the cell.
Add Start and End Dates in Smartsheet

4. Enter % Complete and Assigned To Information

The % Complete and Assigned To columns provide more information about your project and improve transparency by allowing team members to see who is doing what and the status of each task.

On the Gantt chart, the thin bars inside the task bars represent the percentage of work complete for each task.

  1. In the % Complete column, enter the percentage of work complete for each task. Enter a whole number and Smartsheet will automatically add the percentage sign. 
  2. In the Assigned To column, choose a name from your contact list (in the drop-down menu) or manually enter a name.
Contact column in Smartsheet

Customize your project plan in Smartsheet

With just a couple clicks, you can customize the appearance of your project timeline.

1. Customize Fonts and Colors in Your Project Plan

  1. To change the font type and size, or bold, italicize or underline text, click the cell with the text you want to change. On the left-hand toolbar, you will find all the text formatting options.
  2. To change the background color of a row, click the far left gray cell to highlight the entire row. Then, click the paint bucket icon and select the color you’d like to use.
Add background color in Smartsheet


2. Change the Colors in Your Gantt Chart

  1. Right-click on a task bar and click Color Settings.
  2. Select the color you’d like to use from the color palette.
  3. If you want to apply the same color to more than one task bar, click the bars while holding down the Shift key. Then, release the Shift button, right-click on any of the selected bars, and click Color Settings.
Customize gantt chart bar colors in Smartsheet

Discover a better way to manage your project plans with Smartsheet

From simple task management and project planning to complex resource and portfolio management, Smartsheet helps you improve collaboration and increase work velocity -- empowering you to get more done. 

The Smartsheet platform makes it easy to plan, capture, manage, and report on work from anywhere, helping your team be more effective and get more done. Report on key metrics and get real-time visibility into work as it happens with roll-up reports, dashboards, and automated workflows built to keep your team connected and informed.

When teams have clarity into the work getting done, there’s no telling how much more they can accomplish in the same amount of time. Try Smartsheet for free, today.


Use a pre-built Smartsheet template to create a project plan in minutes.

Try Smartsheet for Free Get a Free Smartsheet Demo